1 EBIThree.com 2 Clarify Instructions 3 Instructions to Promote/Migrate EXTOL Projects from Studio to Server

Step by Step Instructions to Promote/Migrate EXTOL Projects from Studio to Server
In the steps below we will review the process to promote Clarify projects from the Cleo Clarify Studio to the Cleo Clarify Server.
These steps would be ideal once the Clarify user has tested and validated the Clarify Projects/Packages/Objects in EXTOL Studio. Below are the testing scenarios for inbound/outbound EDI processes in the Local Studio Console:
- Test Clarify Inbound 850->Database Project in Local Server
- Test Clarify Outbound Database->850 Project in Local Server
Note:It is advisable to use global variables in each of the objects where there a file location is referenced. The locations of some objects might not exist in the exact spots on the Clarify Server. An ideal situation would be where the EXTOL Studio is on a Windows machine while the Clarify Server is on a Linux based machine.
Tag Projects for Production
Before Cleo Clarify Projects are promoted to the Production Server, the projects will need to be tagged. Cleo Clarify users can review Step by Step Instructions to Create Tags for Projects in SVN Repository
Create a Production Workspace
The best practice for this would be to create a new workspace for the Production projects.
File > Switch Workspace > Other

A dialog box will appear that will allow the directory and name of the workspace to be changed.
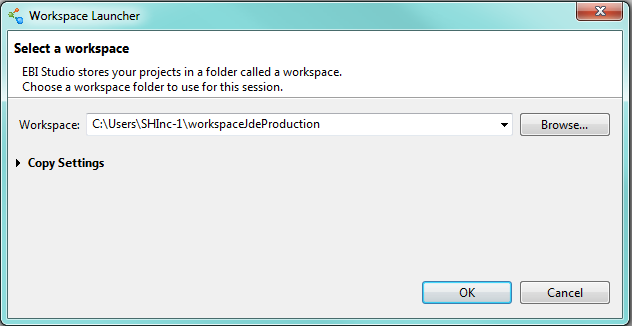
Once created the Clarify user will have an empty workspace. This is where creating tags comes in handy because the Clarify user can create a tag for a specific time when projects were Production ready.
Check out from the SVN Repository
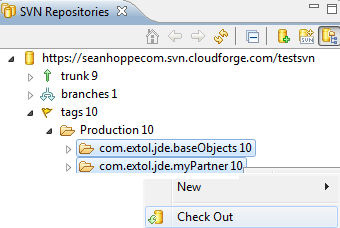
After the new workspace has been created, the Clarify user will want to click on the SVN Repository section at the top right of the Clarify studio.

Next the Clarify user will right-click on the project they would like to check out.
Click on Check Out
A progress box will appear and then the Clarify user’s workspace will be populated with the Production ready projects.
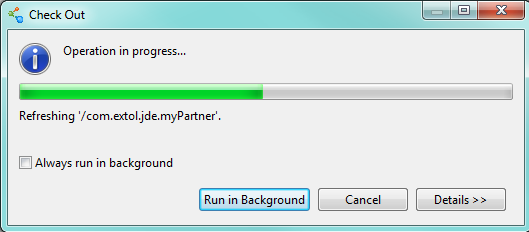
After the projects have been checked out, Cleo Clarify users will see the projects in the Clarify Workbench Project Explorer.

Creating the Production Server
NOTE: This step is only required if Cleo Clarify user has not identified the Production Server in Cleo Clarify Studio.
First the Clarify user will need to click on Admin Console at the top right of the Clarify Studio.
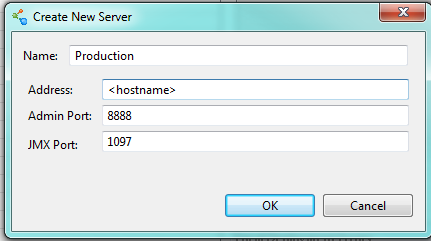
Next the Clarify user will click on the New Server button at the top next to the Server Environment dropdown.

A Create New Server box will appear. This is where the Clarify user enters the name and Server info.
Click OK when finished.
Connecting to the Production Server
Once the Clarify Server is created the Clarify user can select the Production server in the Server Environment dropdown.

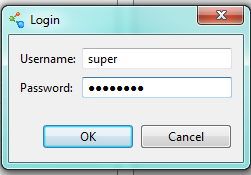
A server login box will appear when the Production server is selected. Enter the username and password and click OK.
Deploying Projects on Production Server
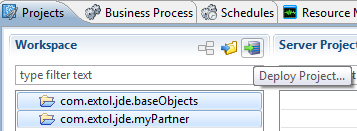
When connected to the Production server, the Clarify user can deploy their projects up on the server by highlighting the projects and clicking the Deploy Project near the top.
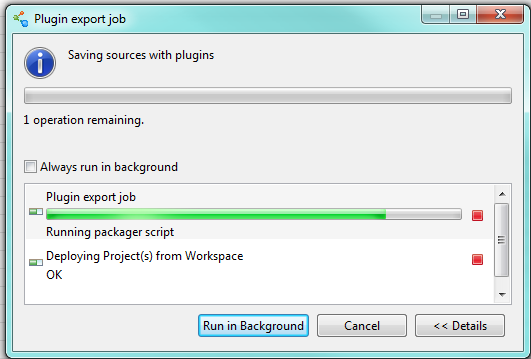
A progress box will appear next.
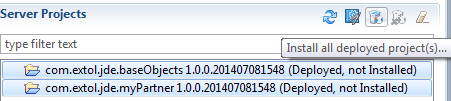
Once deployed the projects will appear in the Server Projects section as not installed.
To install them click the Install all deployed project(s) button at the top
An Installing Projects box will appear.
Once installed the Server Project section will look like this.

By: Sean Hoppe on